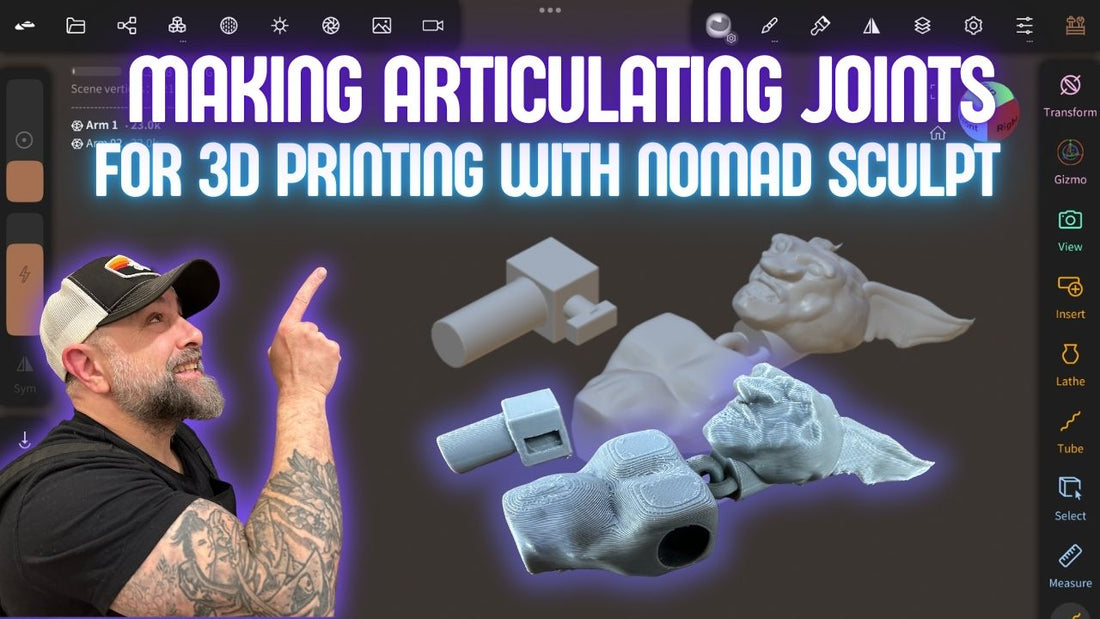
When it comes to creating dynamic, articulating 3D prints, understanding the mechanics of rotational joints is essential. These joints are widely used in robotics, machinery, and toys, enabling smooth rotation along a single axis. We’ll dive into how to design and print rotational joints using Nomad Sculpt and Bambu Labs Studio, covering everything from tolerances to advanced features like magnets.
What Is a Rotational Joint?
A rotational joint is a mechanical connection that allows two parts to rotate relative to each other along a fixed axis. Think of a mannequin’s arm—it’s a perfect example. Rotational joints typically consist of three components:
• A pivot point: The axis around which rotation occurs.
• Rotating elements: The parts that rotate within a specific range.
• Support components: Structures that stabilize the joint.
In 3D printing, these joints open up exciting possibilities, from toys and figurines to practical applications like robotics.
Key Considerations for 3D Printing Rotational Joints
To create a successful rotational joint, consider the following factors during the design and printing process:
• Range of Motion: Will the joint rotate fully, or will it stop at a specific angle? Defining this early ensures your design functions as intended.
• Tolerance: The space between moving parts must be precise. Too tight, and the joint may fuse; too loose, and it might wobble or feel unstable.
• Material Selection: Use PLA for lightweight, flexible projects or more robust materials like PETG or PLA+ for increased durability.
• Print Orientation: Orient parts strategically to ensure strength and a clean finish.
Step-by-Step Guide to Designing Rotational Joints in Nomad Sculpt
Defining the Joint Structure
Begin by determining the pivot points in your model. In Nomad Sculpt, position the arm or movable component against the main body to visualize how the joint will function.
Add a cylinder to serve as the pivot point and a square or rectangular piece that will rotate along the joint’s axis. These elements form the foundation of your rotational joint.
Adjusting Fit and Tolerance
Duplicate the arm and scale it up slightly (by 2–4%) to account for tolerance. This ensures the parts fit together snugly after printing without fusing.
Perform a voxel remesh in Nomad Sculpt to smooth out any inconsistencies and ensure a clean joint interface.
Creating the Rotational Channel
Use a cylinder to punch out a circular channel in the main body of your model. This channel will define the rotational axis and allow the joint to move smoothly.
Exploring Alternate Designs
For more complex designs, consider attaching the pivot point to the body instead of the arm. This approach allows for variations in how the joint rotates and integrates with the model.
Adding Magnets for Advanced Functionality
Magnets can add a new layer of utility to rotational joints, providing stability and locking points. In Bambu Lab Studio, import your model and use negative primitives to create holes for magnets. For example, use 3x3x1mm magnets and space them strategically to hold the arm in specific positions.
Printing and Assembly
Once your model is designed, export it and slice it in your preferred software. After printing, clean up the parts to ensure smooth assembly. Insert magnets where applicable and test the joint’s range of motion.
Practical Applications and Final Thoughts
Rotational joints are versatile and can be used in a variety of projects, from figurines and toys to functional robotics. With the right design approach and material selection, you can create reliable, dynamic joints that expand the possibilities of what you can build.
Filaments Used:
Anycubic Filament: https://amzn.to/4iq5QHf
Overture Filament: https://amzn.to/49xOGni
This article is part of The Art of Articulation series on MakerBuildIt.com, where we explore different joint types for 3D modeling and printing. Be sure to check out our tutorials on other joint mechanisms, and don’t forget to share your creations!

